Revisions
April 1, 2026: Polished for better readability and fixed grammatical mistakes.
October 22, 2025: Included a code snippet that automatically boots the PC into BIOS.
Whether you’ve just built a new computer or want to double-check your existing settings, this guide is for you. Find out how to get the most out of your AMD system by correctly configuring your motherboard BIOS. Don’t just leave everything running at factory defaults.
BIOS firmware update.
Always start by ensuring that your BIOS firmware is up to date. Visit the Support section of your motherboard product page. For MSI, it should be under Support > Drivers & Downloads > BIOS.
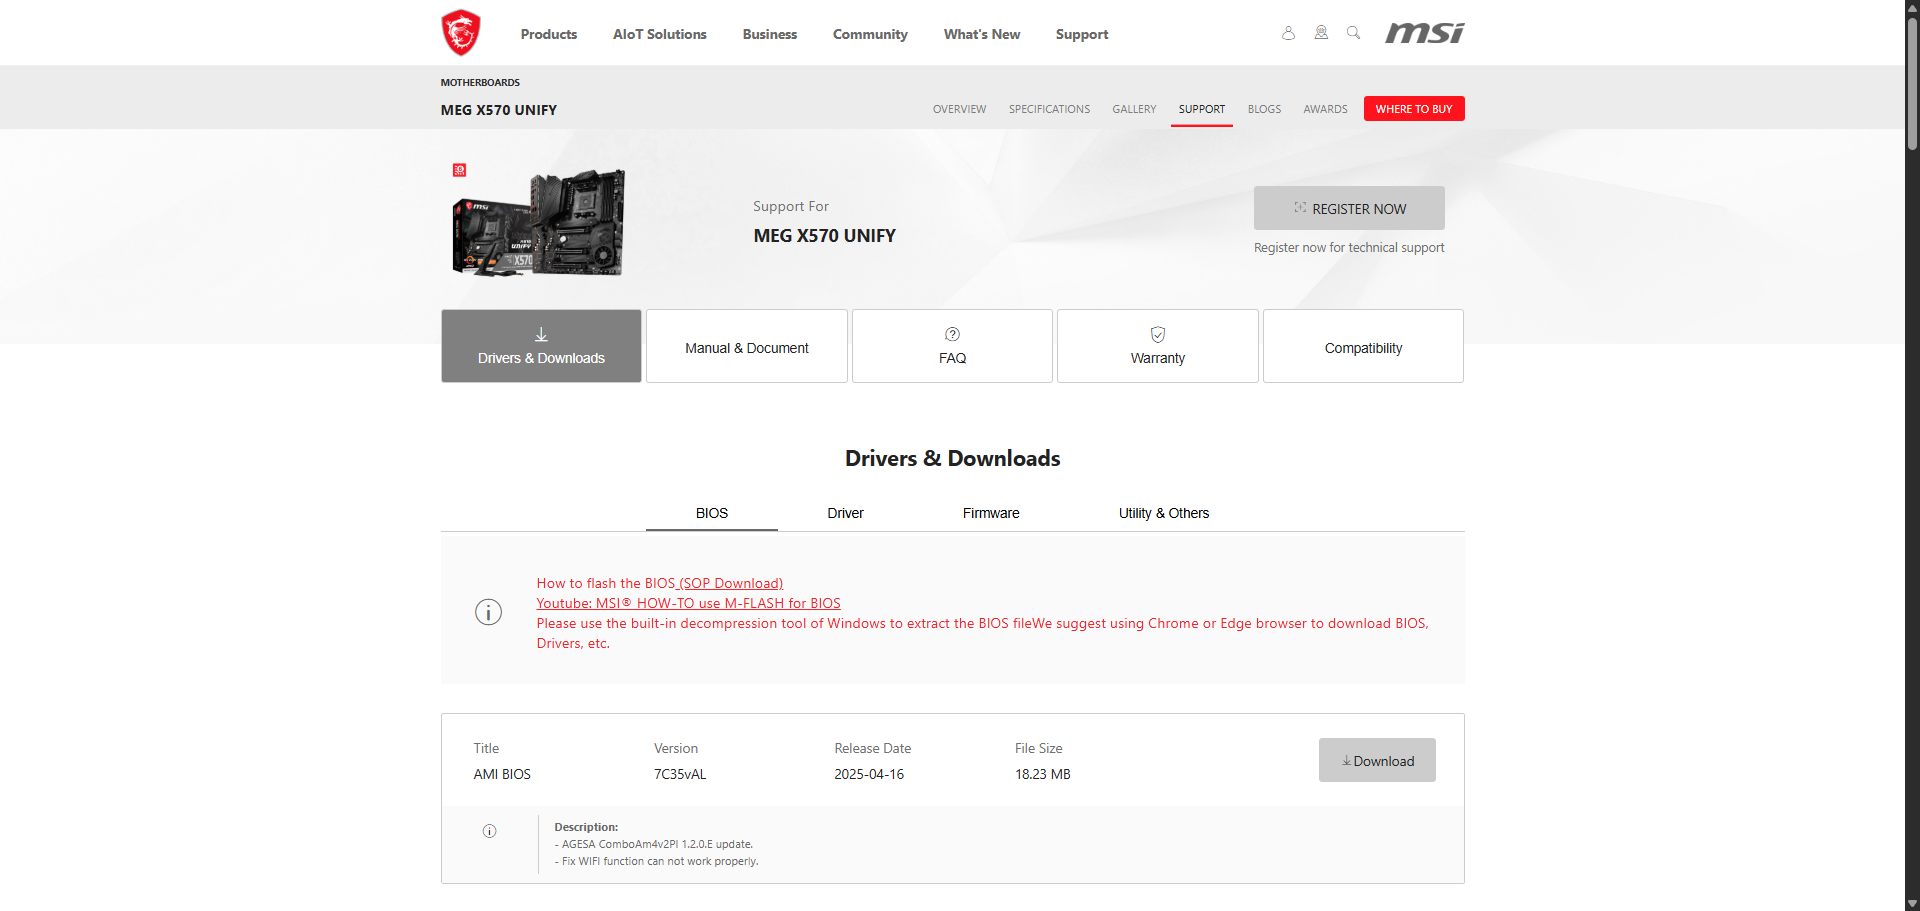
Download the latest version and extract the contents onto a USB flash drive. Your flash drive will most likely need to be formatted with FAT32, otherwise your motherboard may not be able to detect the flash drive or read the contents. If you have BitLocker enabled on your computer, now is a good time to use the “suspend protection” option, or else it will prompt you to enter your recovery key after the BIOS update. This option temporarily suspends BitLocker protection during the next boot and automatically re-enables it right afterwards.
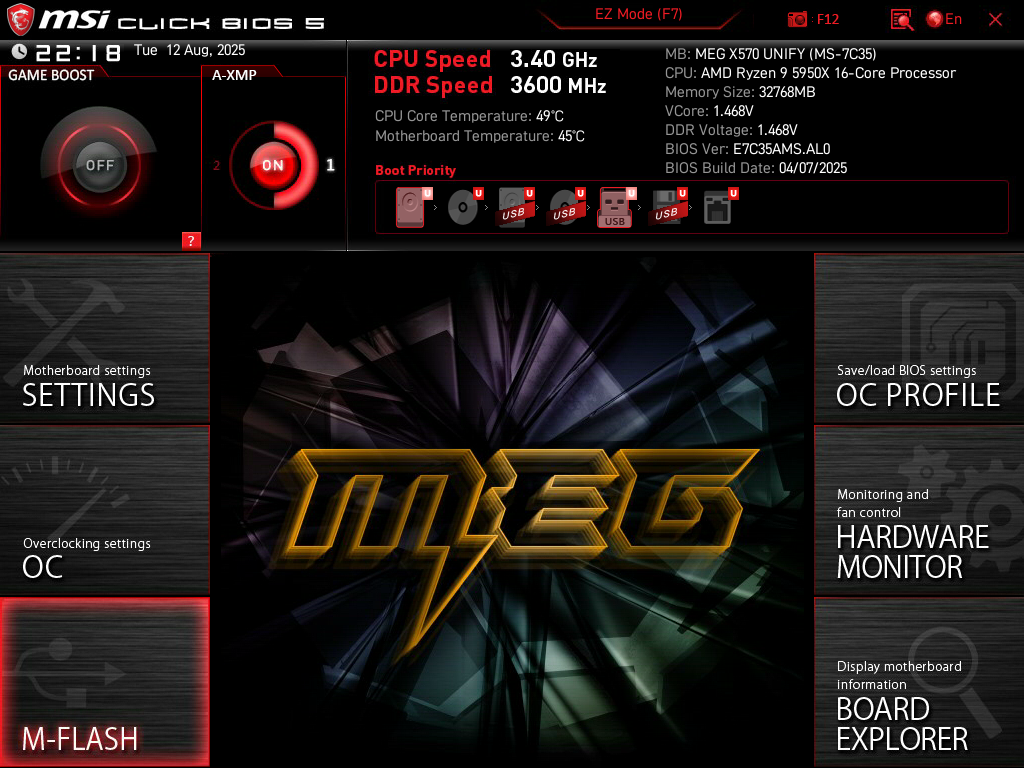
Reboot your computer with the flash drive still plugged in. As your computer powers back on, keep pressing the DEL key on your keyboard to enter the BIOS. Most motherboards use DEL as the BIOS key, but yours may be different. You can navigate through the BIOS by using your keyboard and sometimes also your mouse, depending on the motherboard. Choose the option to flash your BIOS firmware (for MSI, this is called M-Flash).
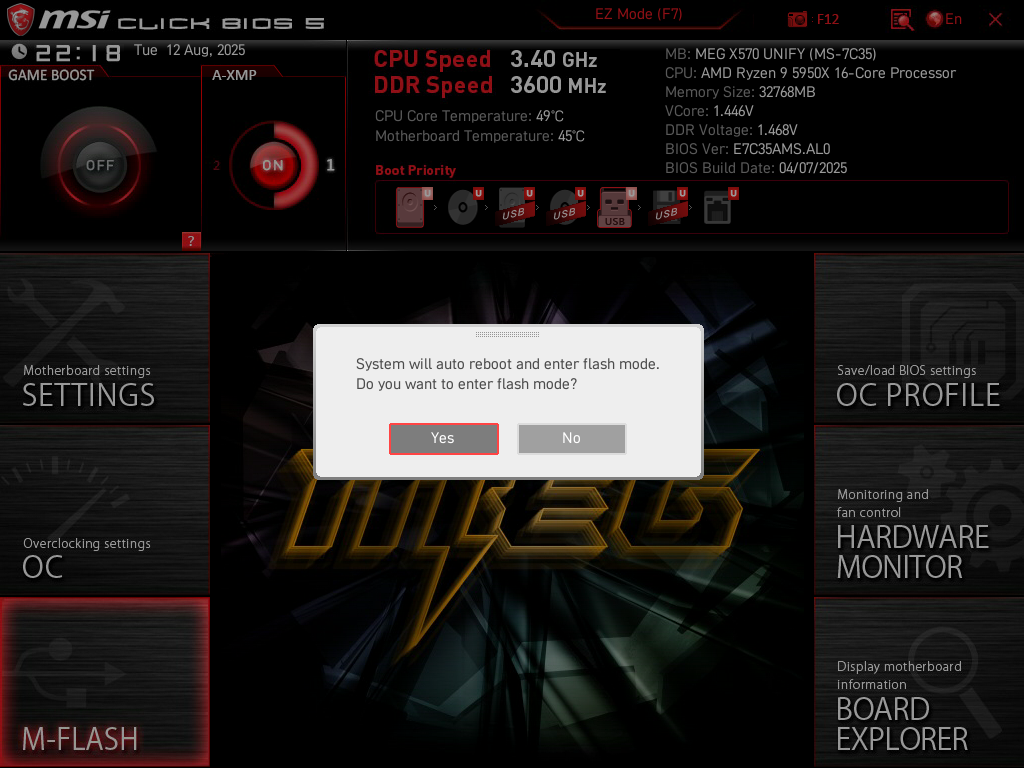
You may receive a prompt asking if you want to automatically reboot your PC into flash mode. Select “Yes” and proceed. On the following screens, you’ll be able to select the new BIOS file from your flash drive and complete the flashing process.
When the BIOS update is finished, your PC will automatically reboot again. As it starts up, keep pressing the DEL key to enter the BIOS again. You can verify that the correct BIOS firmware was loaded by checking the BIOS version or BIOS Build Date information at the top of your screen. The build date may not always exactly match what’s listed on the website, but it should be roughly the same date.
If you’re having trouble getting into the BIOS, open a Command Prompt window with administrator privileges (“Run as administrator”) and use the command below. It will automatically restart your PC and boot directly into the BIOS.
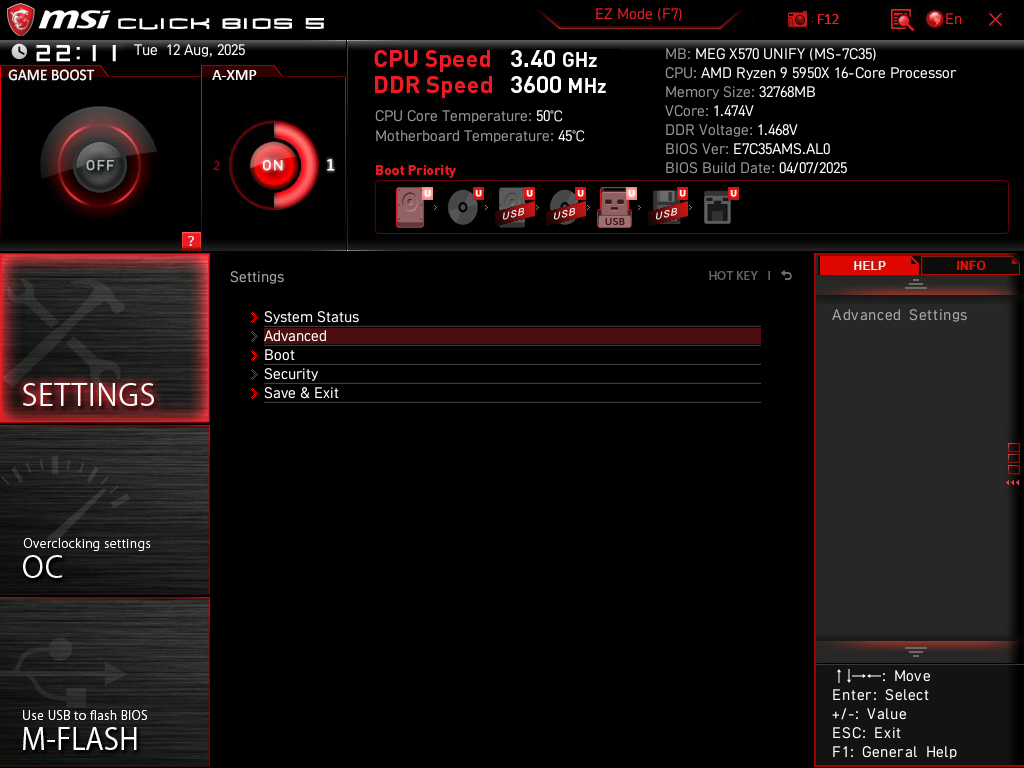
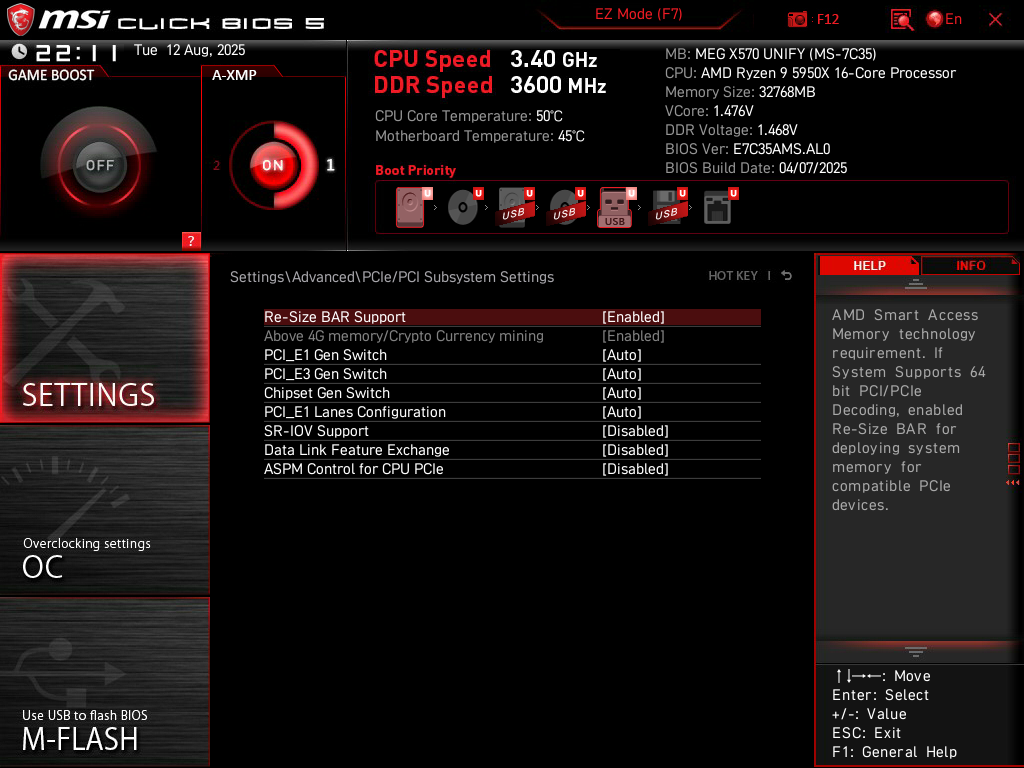
shutdown /r /fw /t 1Settings > Advanced > PCIe/PCI Subsystem Settings.
Turn on Re-Size BAR Support. This should automatically enable Above 4G Memory as well. Resizable BAR is a feature that allows your CPU to directly access the VRAM on your graphics card, resulting in improved performance.
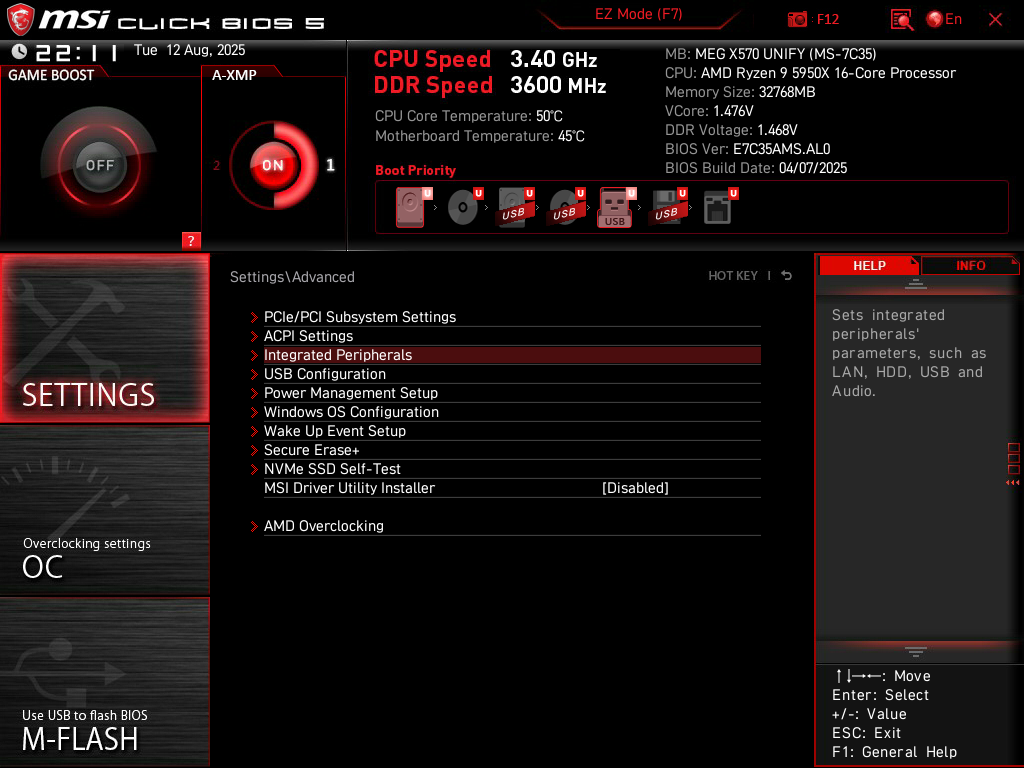
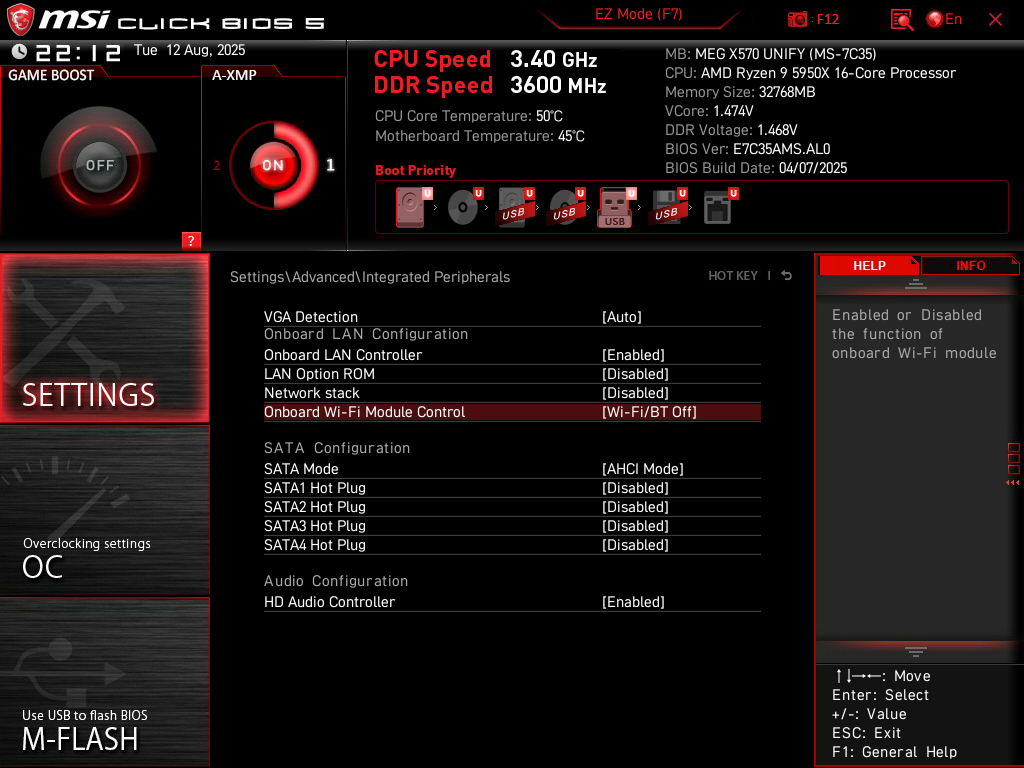
Settings > Advanced > Integrated Peripherals.
The Onboard Wi-Fi Module Control should be configured based on your usage. For example, if you only use Ethernet, you can turn off the Wi-Fi functionality on your motherboard. Disabling Bluetooth is also an option here, if desired.
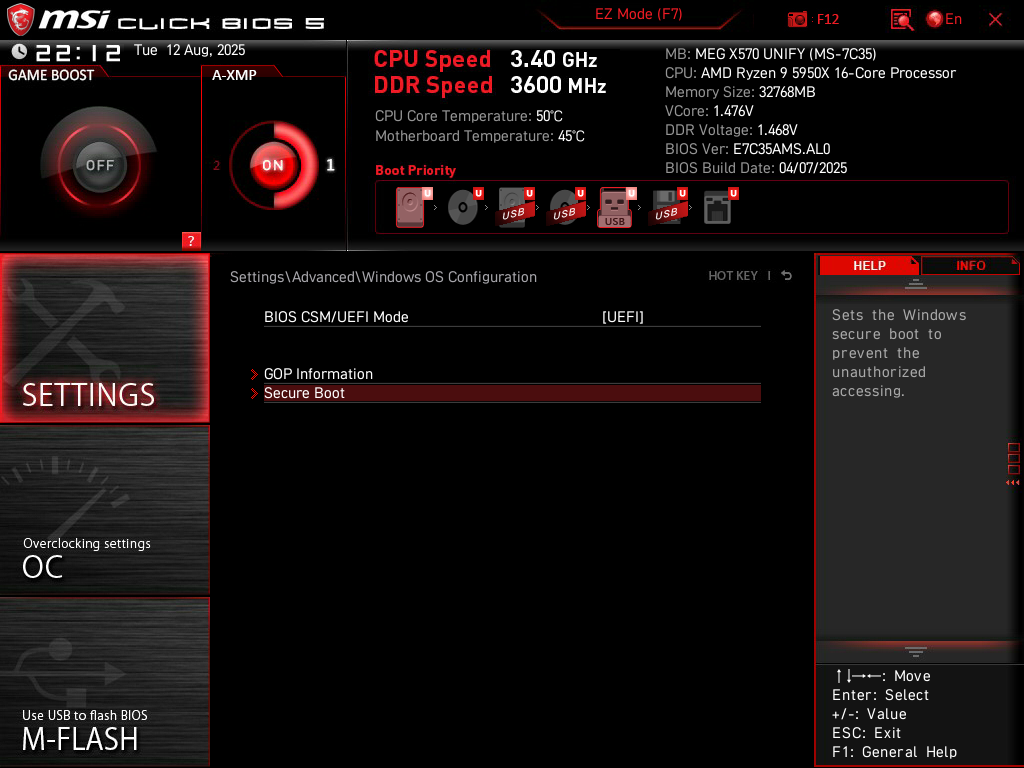
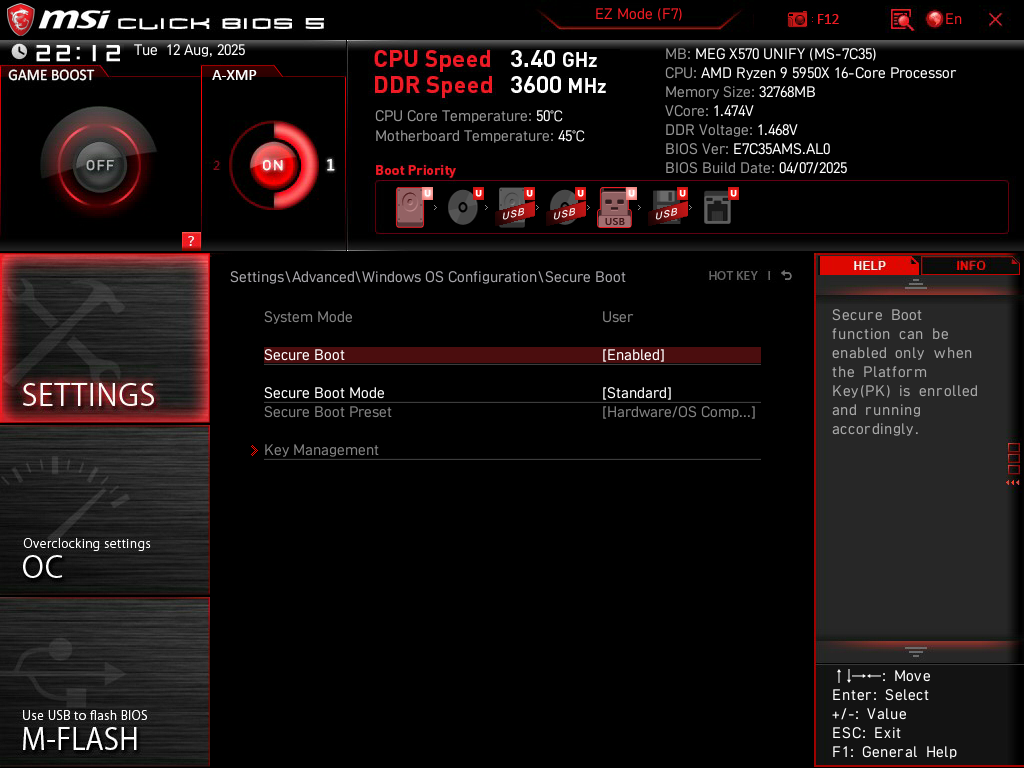
Settings > Advanced > Windows OS Configuration > Secure Boot.
Enable the Secure Boot setting. This ensures that only trusted software is run when your PC boots up. Games such as Valorant and Battlefield 6 also require Secure Boot to be enabled.

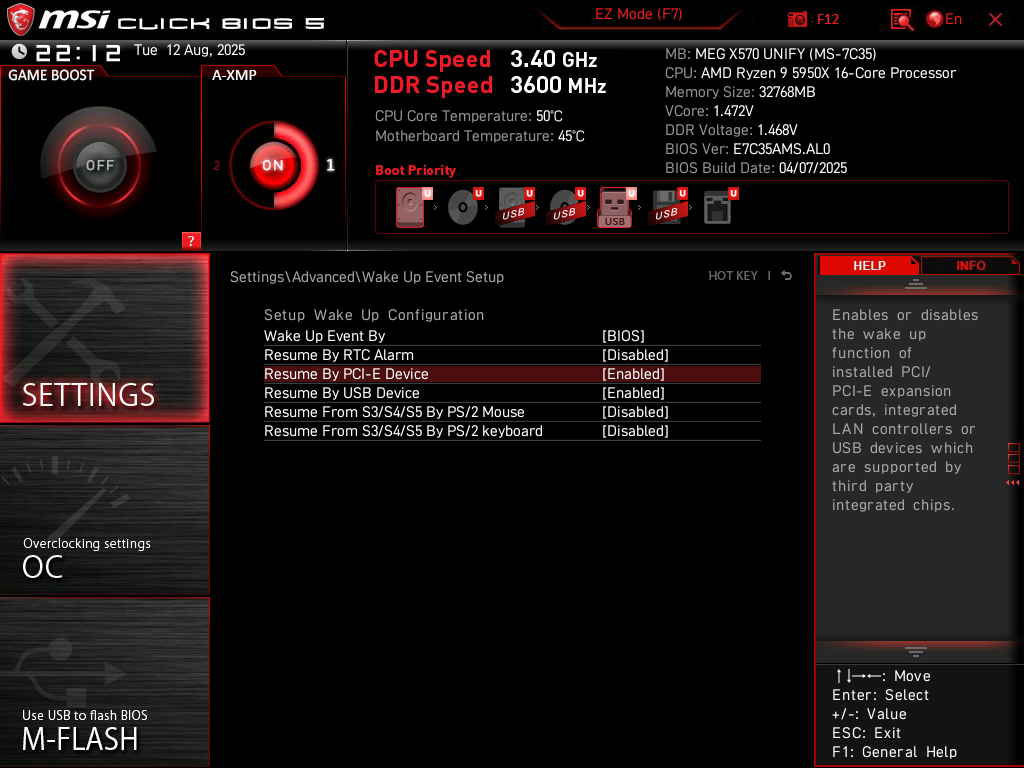
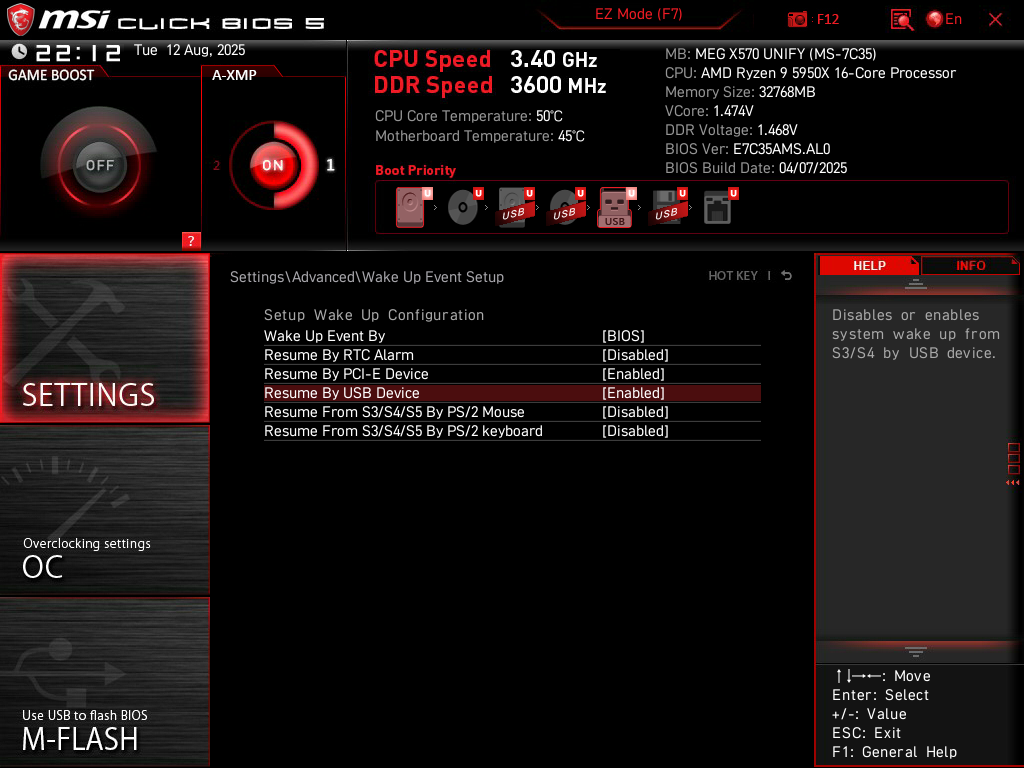
Settings > Advanced > Wake Up Event Setup.
Enable the Resume By PCI-E Device setting if you use WoL (Wake-on-LAN) functionality. Enable the Resume By USB Device setting if you want to charge peripherals such as your wireless mouse while the PC is shut down.
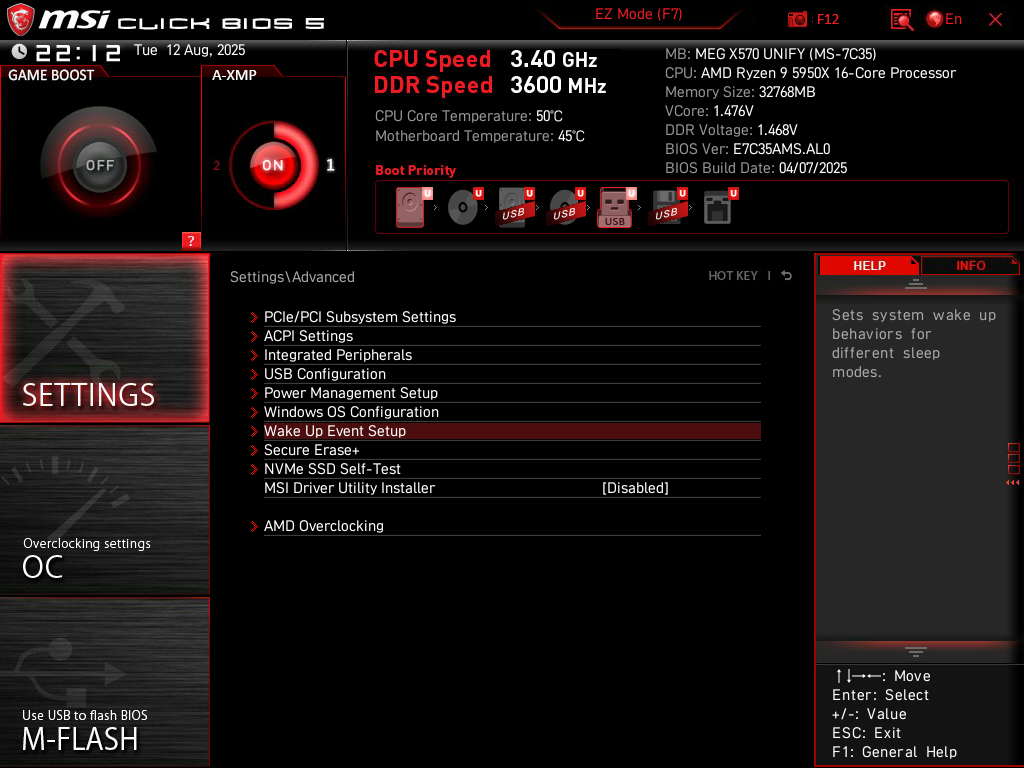
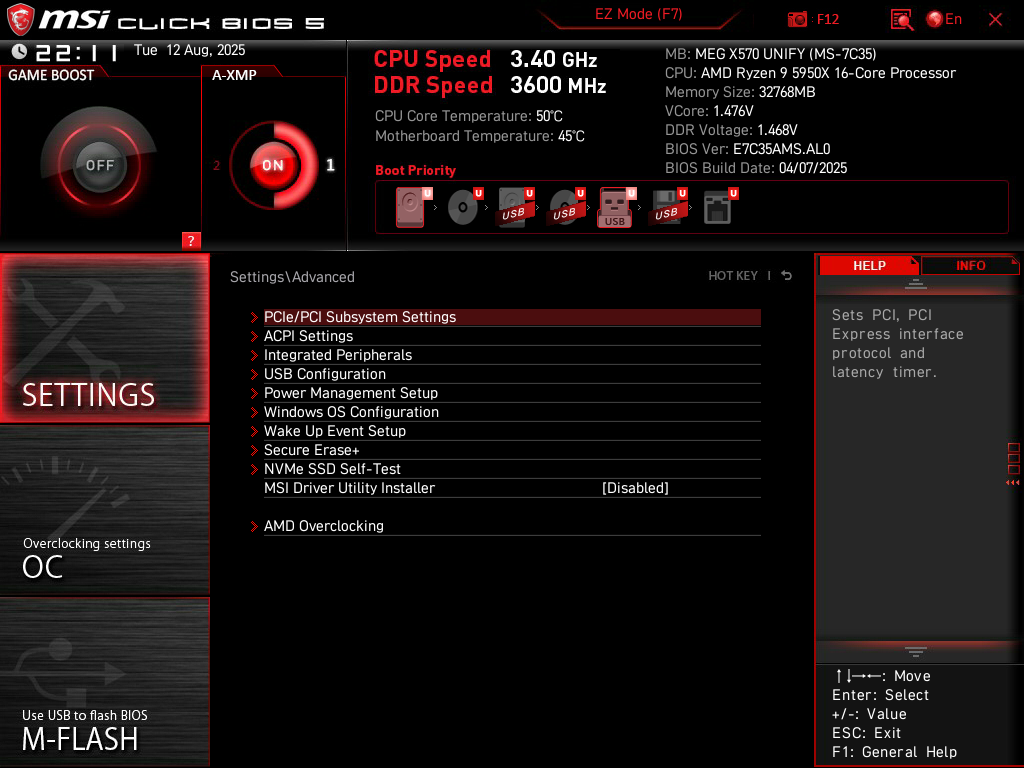
Settings > Advanced.
Disable the MSI Driver Utility Installer. If you leave this enabled, your motherboard may install unnecessary software on your PC. You do not need their automatic driver updater, which may also install additional bloatware on your computer.

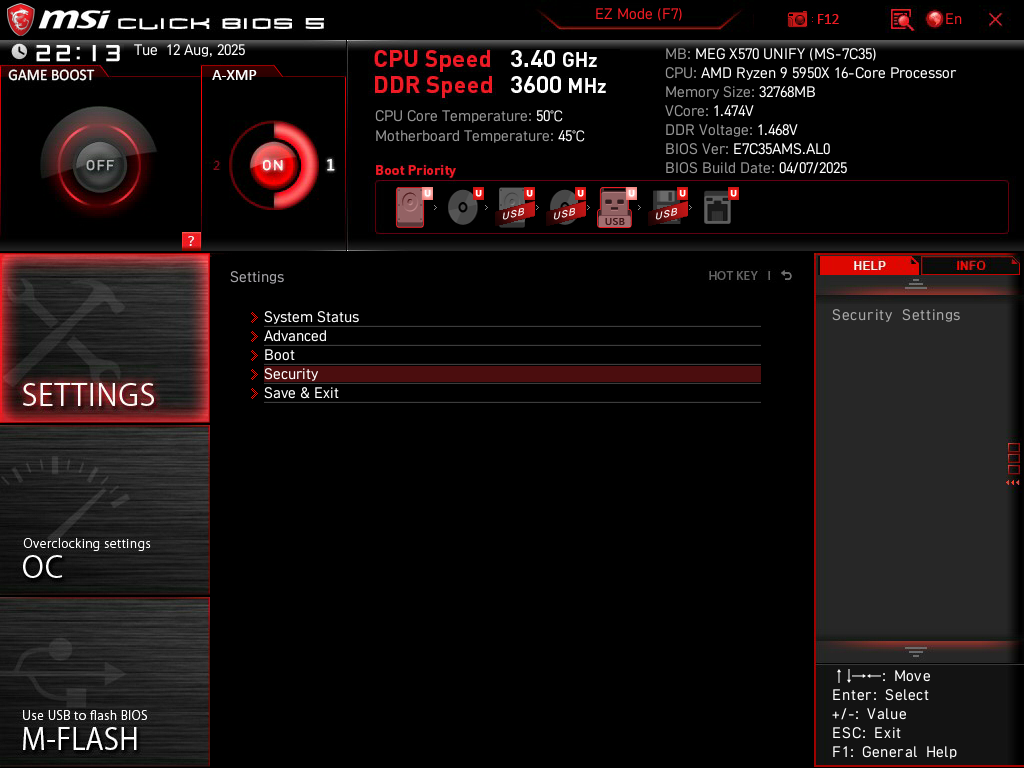
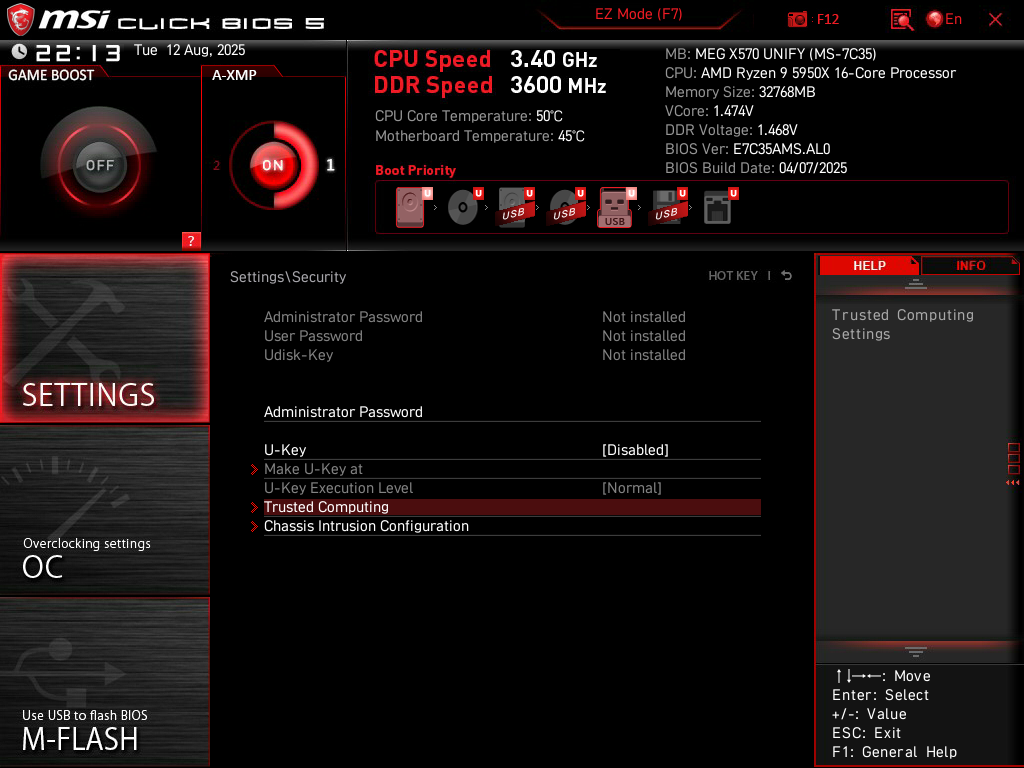
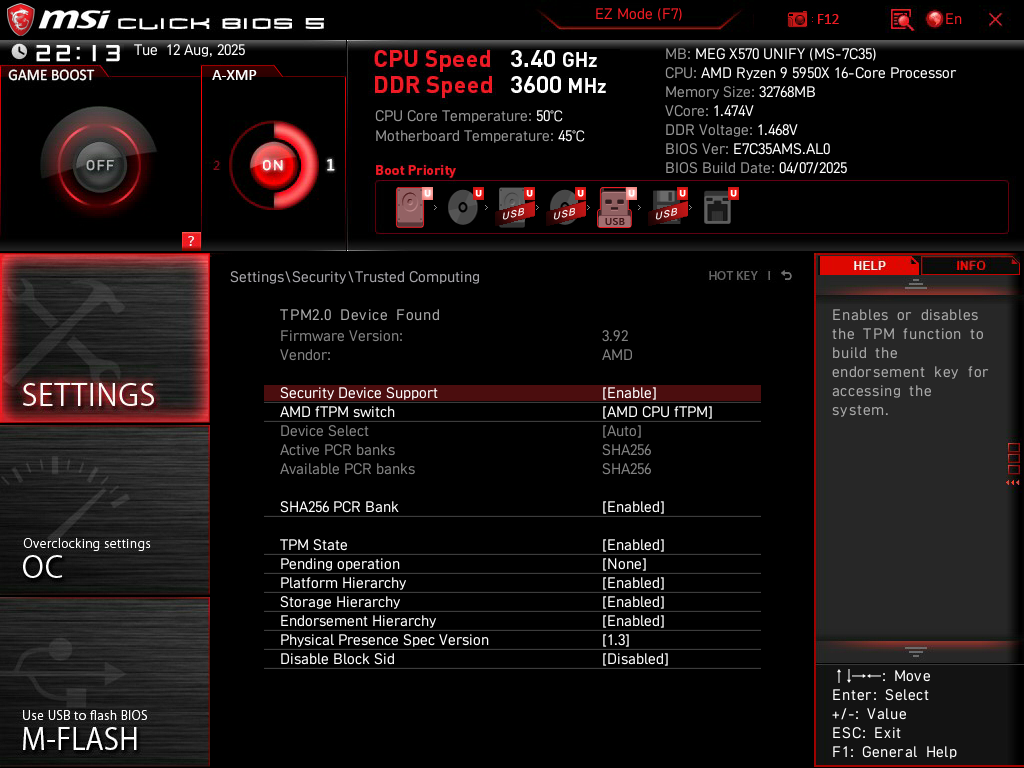
Settings > Security > Trusted Computing.
Enable the Security Device Support setting. This should automatically turn on the AMD CPU fTPM as your TPM (Trusted Platform Module). The TPM is a secure location where cryptographic keys are stored, helping maintain platform integrity. Having a TPM is also a requirement to run Windows 11.
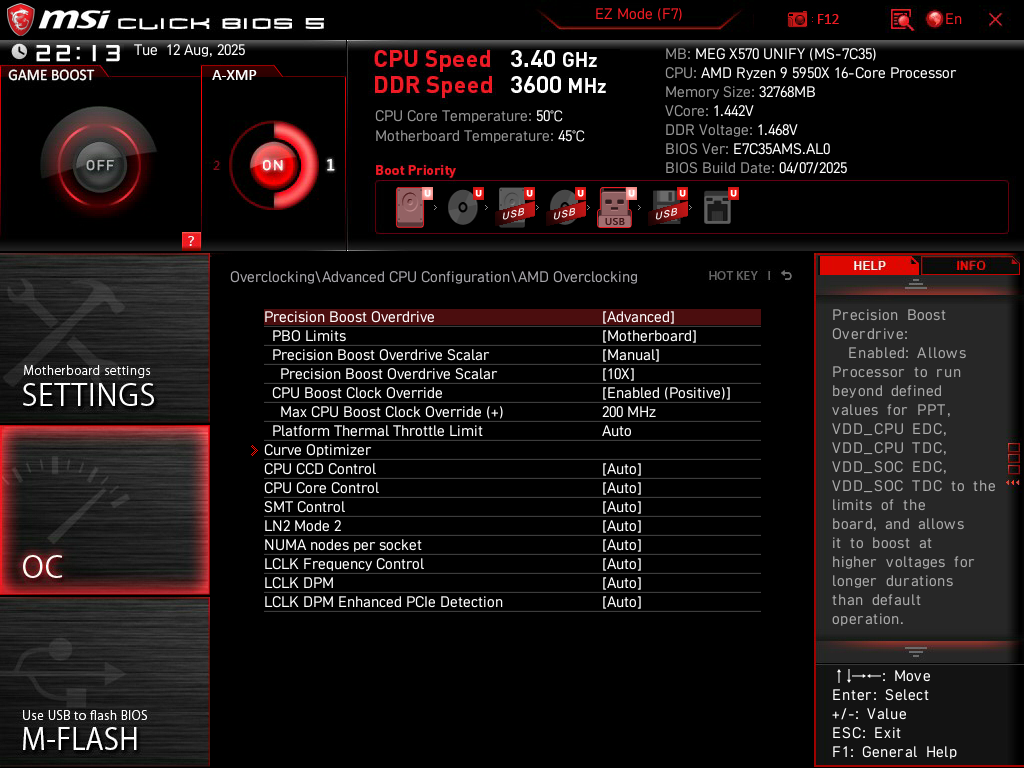
OC > Advanced CPU Configuration > AMD Overclocking.
Set Precision Boost Overdrive to Advanced. Set PBO Limits to Motherboard. Set Precision Boost Overdrive Scalar to Manual, and its sub-setting to 10X. Set CPU Boost Clock Override to Enabled (Positive), and its sub-setting to 200MHz. These settings allow your processor to boost as high as it can go (when necessary) if there is enough power, voltage, and thermal headroom. This is essentially a dynamic overclock that is still extremely stable.
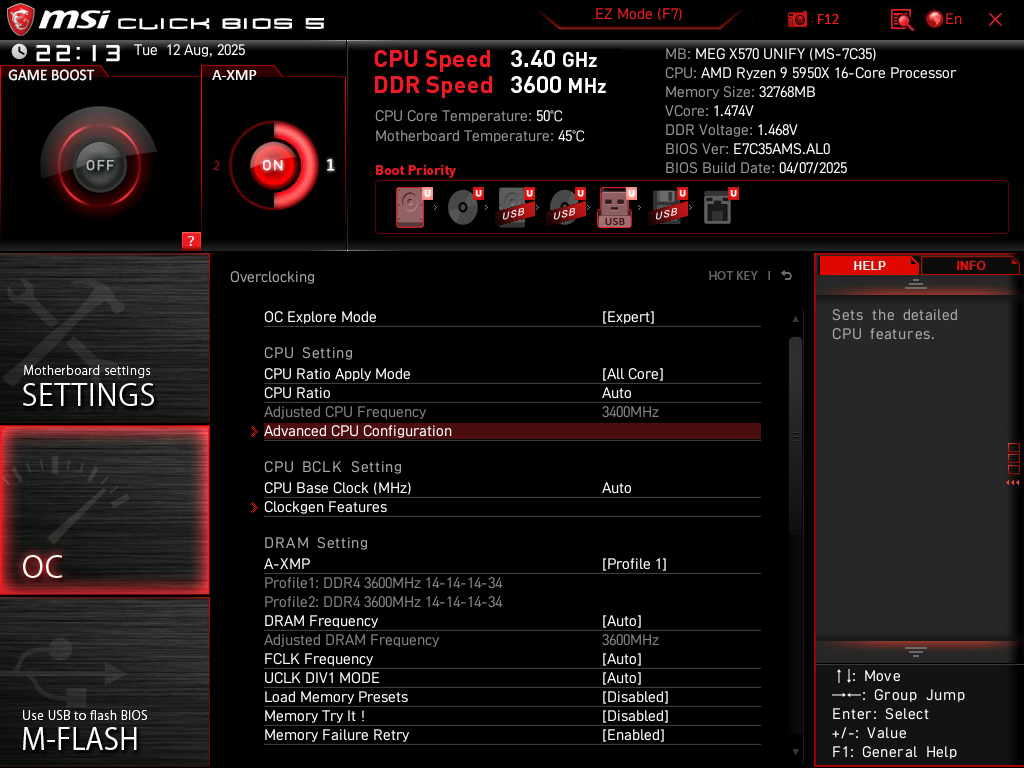
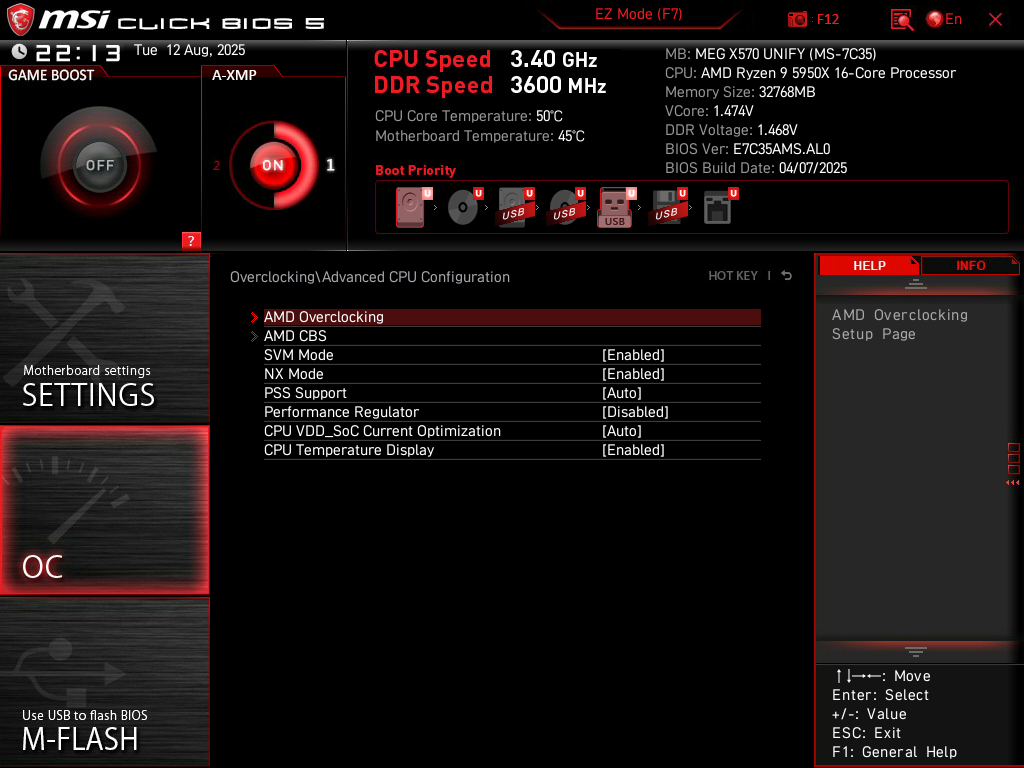
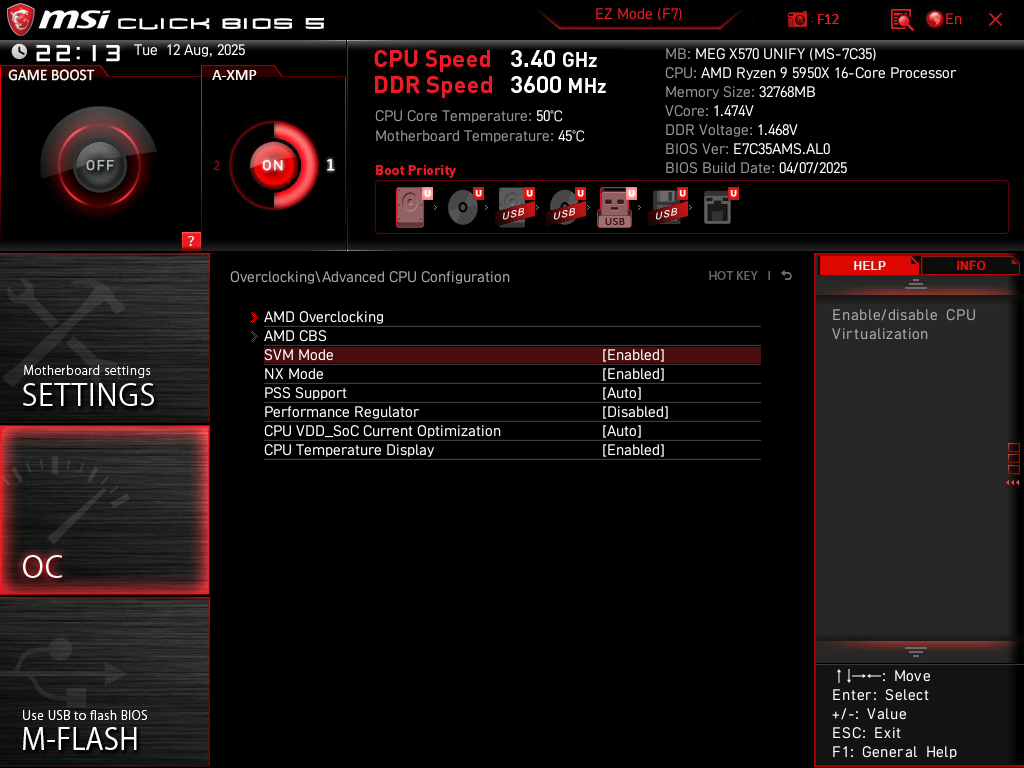
OC > Advanced CPU Configuration.
Enable SVM Mode. This activates virtualization capabilities on your CPU, such as the ability to run virtual machines. This is also important for Windows, since some core isolation security features rely on virtualization.
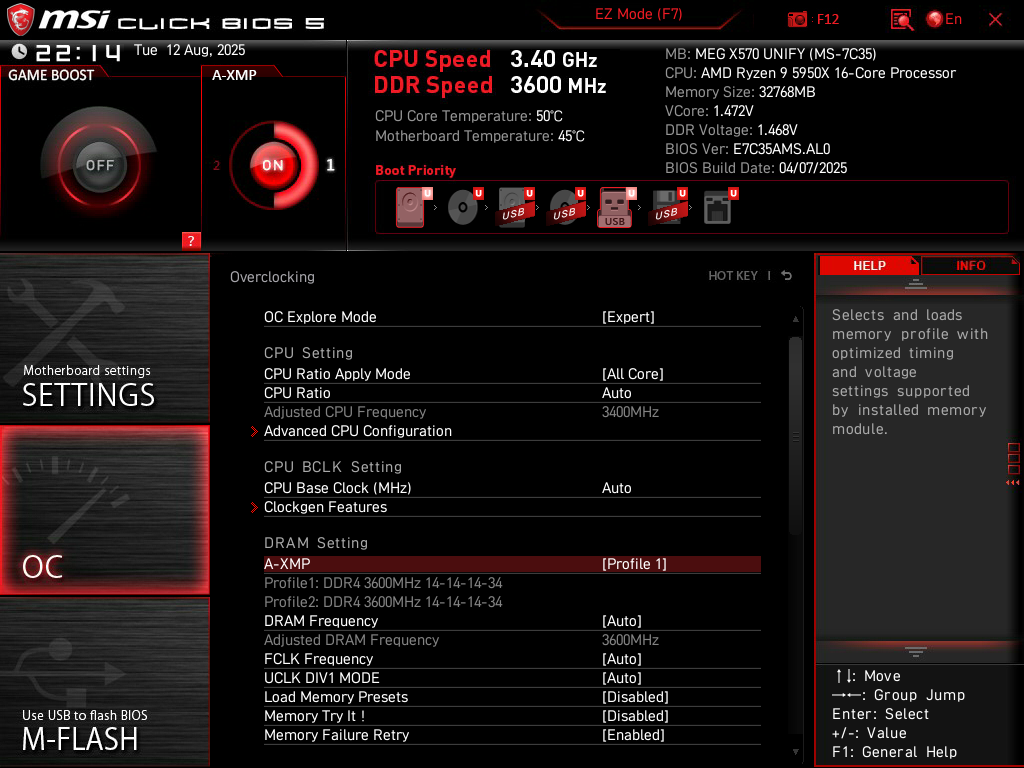
OC.
Enable A-XMP (or EXPO if you’re on a newer AMD platform). Sometimes there is more than one profile available, with both profiles showing the same speeds and timings. In that case, just choose the first profile. If the two profiles are different, the frequency is usually the same between them, but the timings may be different. Choose the one with the lower timings. Activating a RAM profile allows your memory to run at the advertised speeds instead of at lower JEDEC speeds.
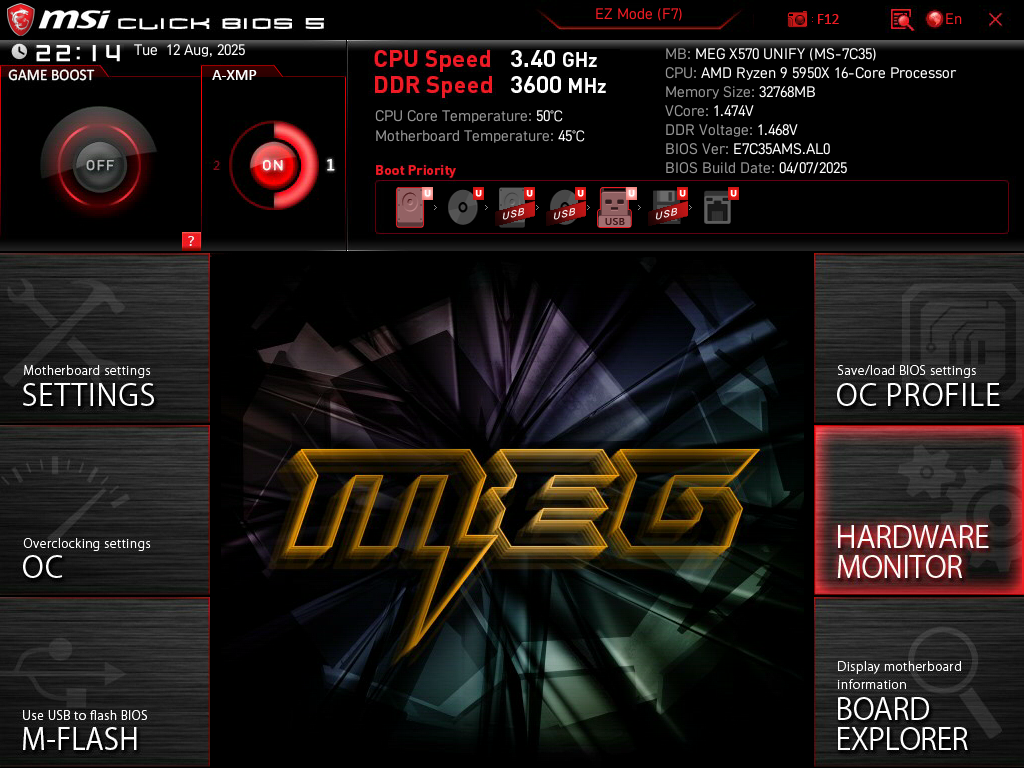
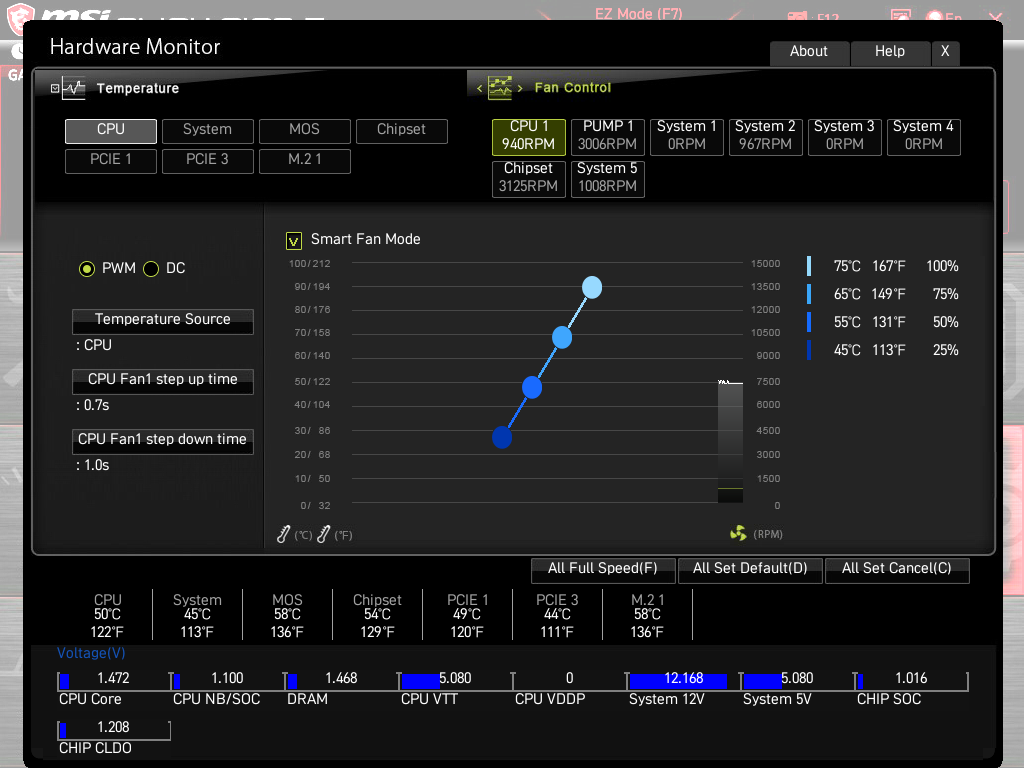
Hardware Monitor.
For each of your fans, ensure that you have the correct fan option selected. If your fan supports PWM (4-pin header), make sure that it’s set to PWM. If your fan is a DC fan (3-pin header), make sure that it’s set to DC.
For each of your fans, set the Step Up Time and Step Down Time to the maximum possible values. On MSI motherboards, the maximum step up time is 0.7s, and the maximum step down time is 1.0s. You may have to scroll down in the dropdown menu to see the 1.0s value. These settings allow your fans to gradually rise or drop in speed instead of instantly jumping to different RPMs, which can be annoying and jarring. This is also completely fine to do, since it takes time for CPU heatsinks or liquid coolers to start soaking up the heat. There is no reason to instantly ramp the fans to maximum speed simply because the processor is momentarily heating up. The fans will always reach the appropriate speeds well before the heatsink or liquid cooler reaches the saturation point.
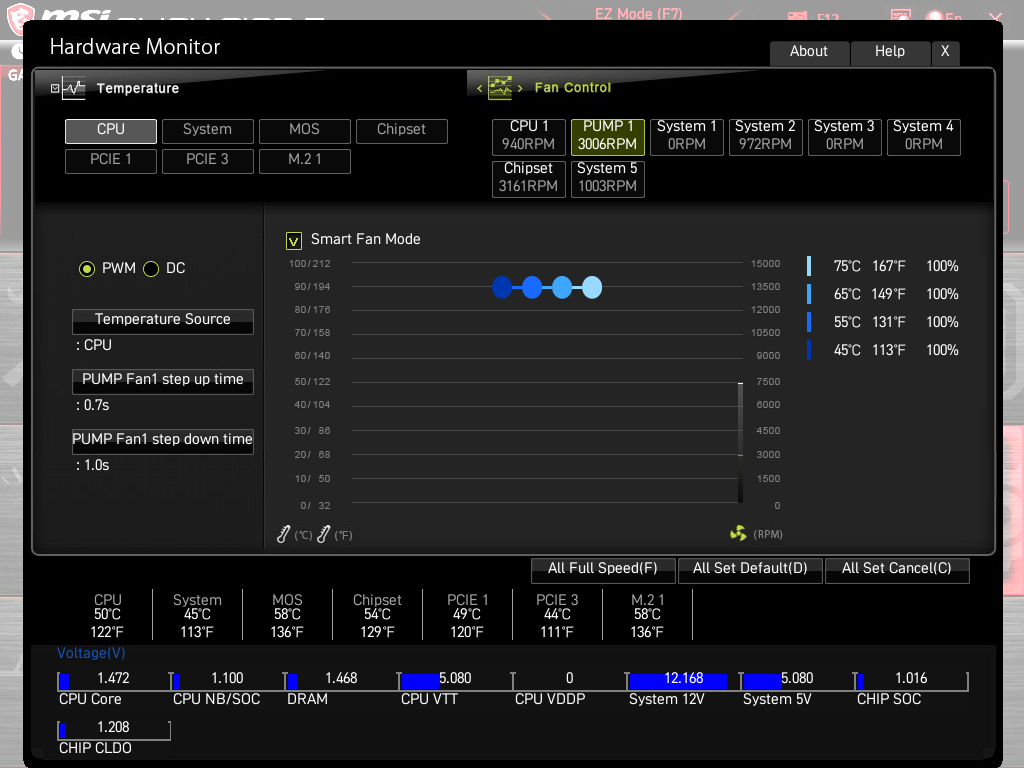
Turn on Smart Fan Mode for each fan and you’ll be able to customize their fan curves on the right side of your screen. The one in my screenshot is aggressive, but could be a good starting point depending on your preferences. For my quiet builds, I set the temperature targets higher (100% fan speed at 90C, 75% fan speed at 80C, 50% fan speed at 70C, and 25% fan speed at 60C). If you’re using a liquid cooler, I suggest running the pump at full speed at all times (simply set the speed to 100% across all temperature targets).
Leave a Reply